Project 566: Custom Health Bar

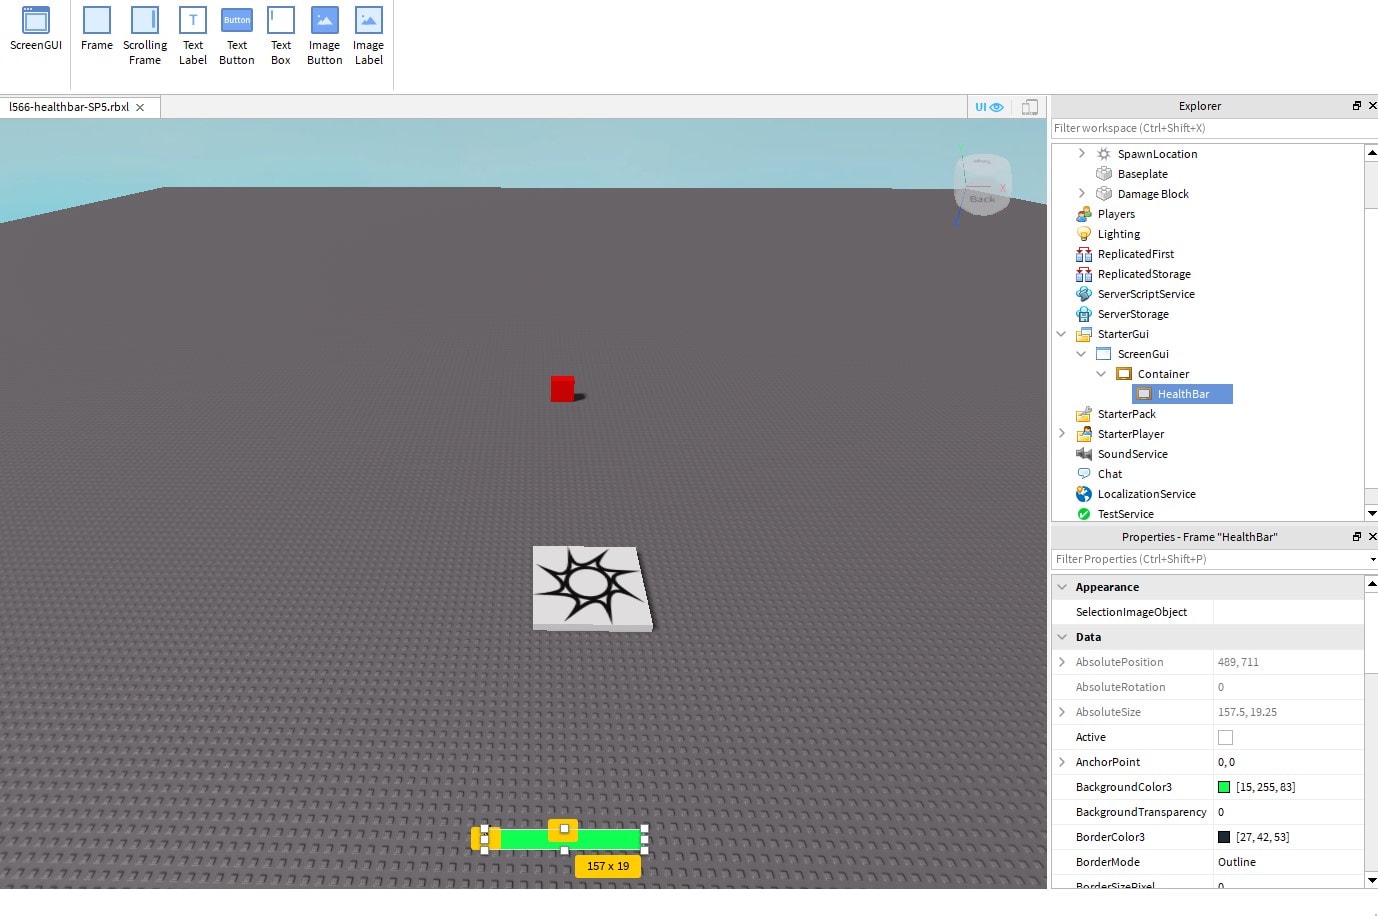
5. Create the health bar

This will be the bar that actually changes size, and will go on top of the health bar container you just made.
Starting point file for this challenge

Your goal

Steps

1. Duplicate the Container and rename it to "HealthBar"

We WILL be referencing this name later in the code, so to make things easier, make sure whatever you name this is just one word. 

2. Make the HealthBar a child of the Container

In the Explorer window, click and drag the HealthBar into the Container object. 

3. Match the HealthBar's scale to the Container's scale

Remember, children always inherit the size of their parent object! So, to make it match exactly with the Container's size, you actually DON'T want it to have the same scale values. 

Instead, you'd use 1 x 1. 

4. Match the HealthBar's position to the Container's position

Children also inherit the position values of their parent object. So, to make it match exactly with the Container's position, you don't want it to have the same X and Y coordinates. Instead, the HealthBar's X and Y positions should both be 0. 

Instead, go into the Health Bar's properties and find the "Position" property. Open it up to find the X and Y values. Type in "0, 0" for both X and Y. 

5. Put the HealthBar on top of the Container

Inside the HealthBar's properties, find a property called ZIndex. This is the Z position, or the depth of the HealthBar. (Or, how forward and backwards the HealthBar is.)

To make the HealthBar appear more "forward" or on top of the Container, set the ZIndex to 2. 

6. Choose a color for the HealthBar

Near the top of the HealthBar's properties, find the property called BackgroundColor3. Click on the little square to choose a new color for your health bar!